For the complete documentation index, see llms.txt. Markdown versions of all docs pages are available by appending .md to any docs URL.
Admin UI
Verified Code examples on this page have been automatically tested and verified.Use the built-in Admin UI to inspect and manage your standalone agentgateway configuration.
Use the agentgateway Admin UI to view and manage your standalone proxy configuration in real time.
About
The agentgateway Admin UI is a built-in web interface that runs alongside the proxy on port 15000 by default. In standalone mode, the UI is fully interactive — you can inspect your current configuration and manage your proxy without restarting agentgateway.
The Admin UI is separate from the Web UI integrations, which are third-party AI chat frontends (such as Open WebUI or LibreChat) that you connect to agentgateway as a backend. The Admin UI is the management interface for agentgateway itself.
Open the Admin UI
Start agentgateway with a config file.
agentgateway -f config.yamlExample output:
INFO app serving UI at http://localhost:15000/ui
Open http://localhost:15000/ui/ in your browser.
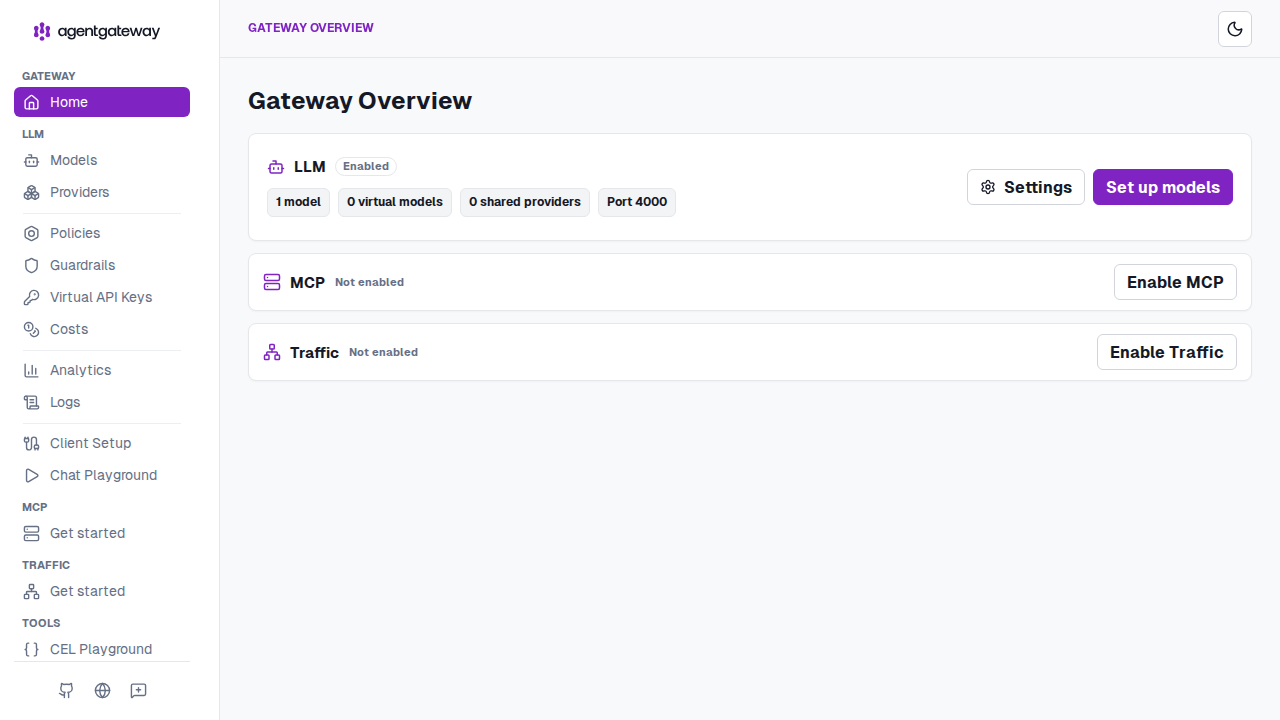
The Admin UI opens on the Gateway Overview, which lists the available capabilities (LLM, MCP, and Traffic) and lets you enable the ones you want to operate.
Customize the Admin UI port
By default, the Admin UI binds to localhost:15000. To use a different address or port, set adminAddr in the config section of your config file.
Add or update the
adminAddrfield in your config file. The value must useip:portformat.# yaml-language-server: $schema=https://agentgateway.dev/schema/config config: adminAddr: localhost:9090Start agentgateway with the updated config.
agentgateway -f config.yamlExample output:
INFO app serving UI at http://localhost:9090/ui
- Open the UI at the new address. In this example, navigate to http://localhost:9090/ui/.
adminAddr, update any agentgateway admin API commands to use the new address. For example, change curl http://localhost:15000/logging to use the new port.Secure the Admin UI
By default, the Admin UI is served on the local admin interface (localhost:15000) with no authentication. Anyone who can reach the admin address can inspect and manage your configuration. To require users to authenticate, attach the UI to a gateway listener and apply a browser OIDC policy. When you attach the UI to a gateway, it is served on that gateway’s port instead of the admin address, and all UI traffic must pass the policies that you attach.
Set the
OIDC_COOKIE_SECRETenvironment variable. Agentgateway requires this value to encrypt session cookies whenever anoidcpolicy is configured. Set it to a random value before you start the gateway.export OIDC_COOKIE_SECRET="$(python3 -c 'import os; print(os.urandom(32).hex())')"Add a
uisection to your config file that attaches to a gateway and applies anoidcpolicy. The following example serves the UI on thedefaultgateway on port 3000 and redirects unauthenticated users to the OIDC provider to log in. The optionalauthorizationpolicy further restricts access to users whose email address ends in@example.com.# yaml-language-server: $schema=https://agentgateway.dev/schema/config gateways: default: port: 3000 ui: policies: oidc: issuer: http://localhost:7080/realms/agentgateway clientId: agentgateway-browser clientSecret: agentgateway-secret redirectURI: http://localhost:3000/oauth/callback scopes: - profile - email authorization: rules: - allow: jwt.email.endsWith("@example.com")Start agentgateway with the updated config.
agentgateway -f config.yamlOpen the UI at the gateway’s address, such as http://localhost:3000/ui/. Instead of loading the UI directly, agentgateway redirects you to the OIDC provider to log in. After you authenticate, you are returned to the UI.
For the full list of oidc policy fields and a complete runnable Keycloak setup, see OIDC browser authentication and the traffic-unified-gateway example in the agentgateway repository. You can attach other policies to UI traffic in the same way, such as cors, jwtAuth, basicAuth, or apiKey.